How to Install Rubber Speed Bumps
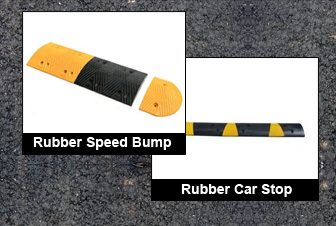
Rubber speed bumps may be regarded as superior to asphalt for a number of reasons: they’re easy to install and remove, they’re less damaging, and they’re cheaper. Although installing a rubber speed bump can be fairly easy, it’s important to do correctly to ensure it stays in place and lasts.
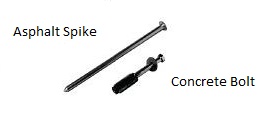
The first step is to make sure that you have all pieces and tools readily available for the installation. Different products have different specifications, so make sure that you have tools that will allow you to follow their specific guidelines. Besides the actual speed bump, your product may have come with either spikes (recommended for asphalt) or bolts and shields (recommended for concrete). Additionally, you will need a drill and hammer for installation.
Upon gathering the proper tools, follow these steps:
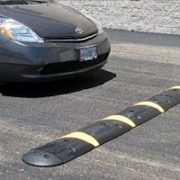
- Place the speed bump where you plan on installing it.
- Drill holes through the designated areas on the top of the bump. Your product should specify the size of your drill bit, matching the size of the spike or lead shield that will ultimately hold the product in place.
- Remove the bump and re-drill the holes to ensure that they are deep enough. Again, the depth depends on the kind of bump you are installing. Once the holes are drilled, remove any debris from the area. If you are using bolts and shields, hammer the lead shields into the holes before placing the speedbump back into position. Additionally, it may be recommended to fill the holes and layer the bottom of the product with an adhesive.
- Once the speed bump is back into position over the holes, secure it in place. If you are using spikes, then you will hammer each spike into place. If you are using bolts and shields, then you will tighten the bolt into the shield at this stage. Make sure that the speed bump is as secure as possible to ensure proper usage, and minimal damage. A ratchet may be used to securely tighten each bolt.
Note that it is recommended to remove rubber speed bumps before winter to prevent snow plows from destroying the product. Leave at least a few inches between speed bumps to allow for draining and possible expansion. Most rubber speed bumps are not designed for speeds exceeding 15 MPH.